.jpg)
From: stormdrane.blogspot.com
As you all know, a while back I bought some paracord. A thousand feet of paracord to be precise, and the result has been a number of DIY projects using it. My first paracord project was a to make Slatt's Rescue Belt, which has proved to be rather successful. With the belt finished I have moved on to a second paracord project and this is making a water bottle wrap.
Now when I started trying to make a water bottle wrap, I looked at it and went, sure, this will be easy. Well, not so easy after all. Not that a water bottle wrap is very hard, but it is definitely harder than it looks. Which I am sure will only make the end result more satisfying.
For this project you need:
-about fifty feet of paracord (give or take, depending on how much you put on your bottle, and the bottle size)
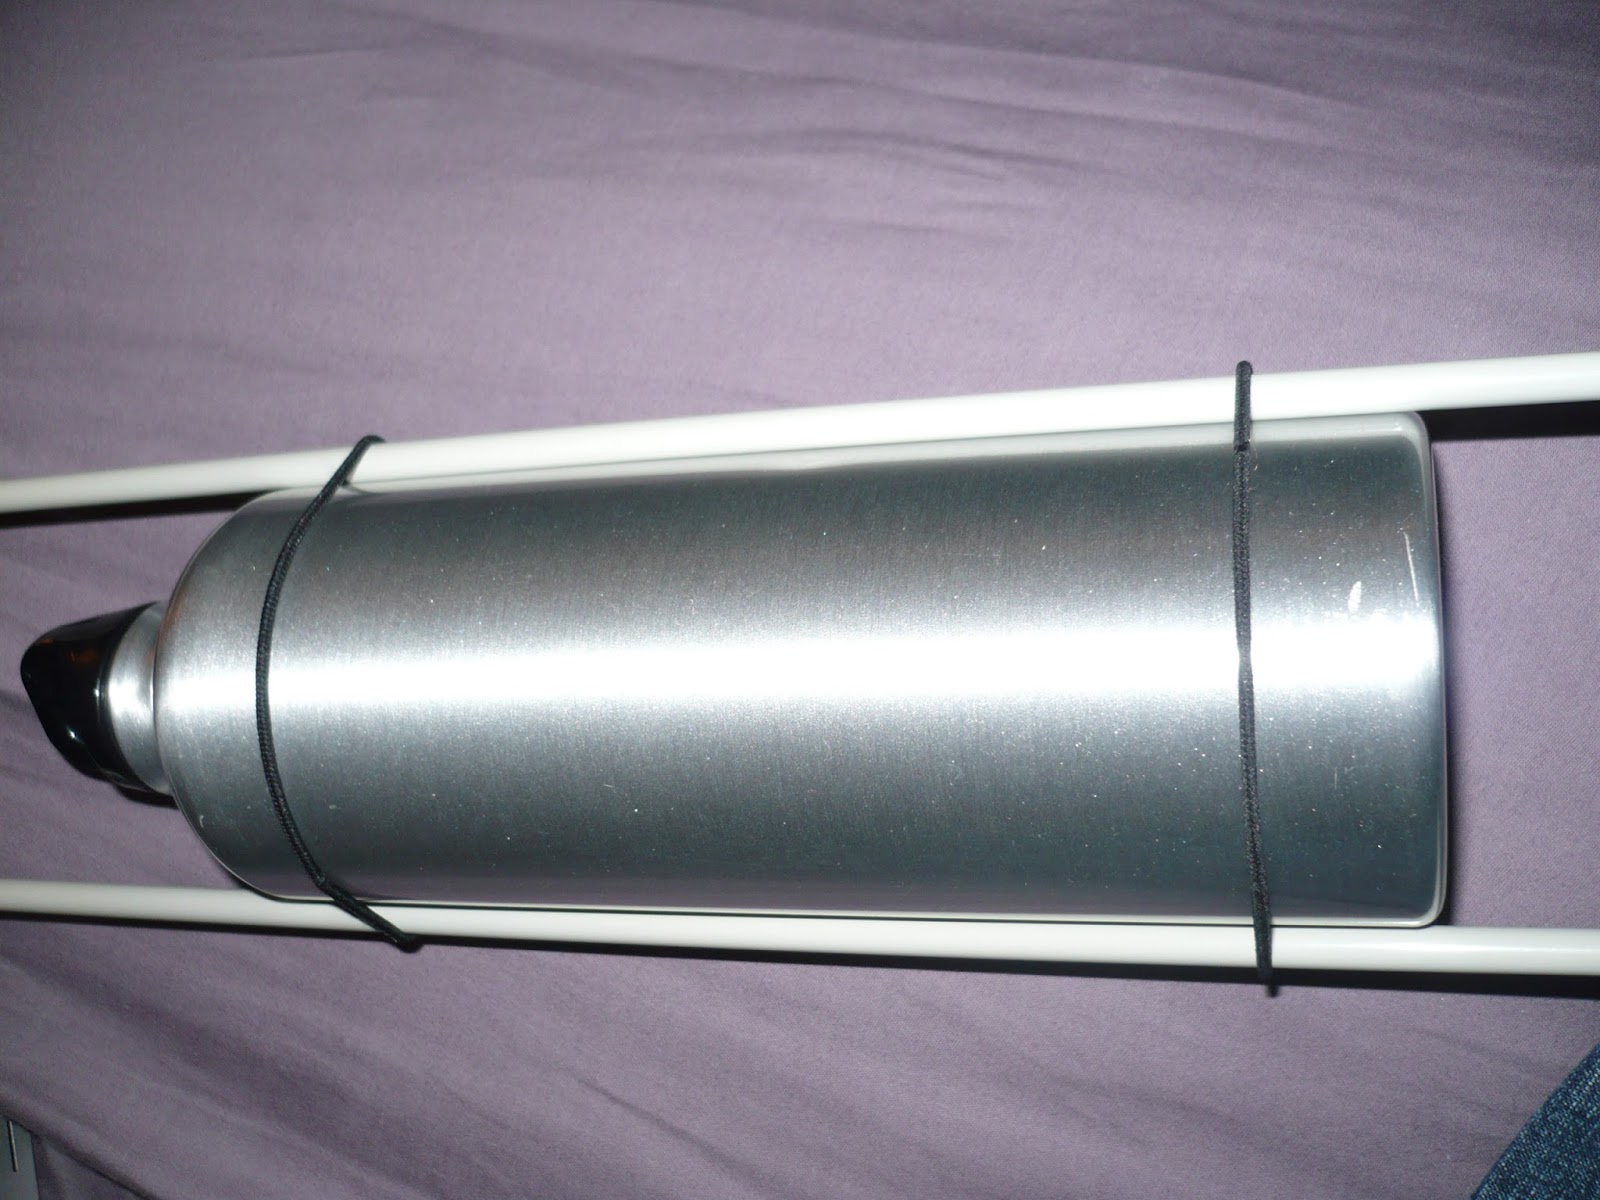
-a water bottle
-rubber bands (hair ties in my case)
-2 dowel rods or knitting needles
-tape (optional)
-shuttle (optional)
Remember before you start wrapping your paracord, you have to have your full length of cord cut. Unlike the Slatt's belt where you only need one end of the cord cut, it is necessary to have two ends on your cord. This is because to create the wrap, you need to weave the cord into itself. When you are wrapping, you want to make sure that your wrap stays even, and straight. Watch out for twists in your cord, as this is the easiest way to tangle, or throw off the lines of your wrap.


To do the basket pattern, you take your loose cord coming off the end of your wrap, and tuck it under the top loops of your wrap. It is up to you how many strand you go under. I used four strands, but you can use any number you want. Once you have gone under the number of strands you have selected, you bring the cord back on top, and go over the same number of strands. Then weave it back under the same number of strands again. This will create a block like pattern in the cord, that looks similar to a basket weave.
Now, when doing this weave, it might be a good idea to count how many strands you have, because you want to end up with your cord going under the last set of strands on the bottom of the wrap. This way the cord can come out, and loop over and up, going over the strands you just went under, and starting the next row.

As you can probably tell with my pictures at this point, one of the knitting needles has been removed out of the weave. I slipped it out after the first weaving pass of my cord, because the weave was getting very tight. As you weave your wrap, it will get tighter and tighter on the bottle, and the needles create the extra room so I can introduce slack into the weave. This makes it easier to do the weave I am trying to create. As I get farther in the weave, will remove the other one to again, allow a little slack into the cord as I go.
Be careful when removing your dowel rods or needles because the extra slack can cause your cord to drop and even fall off the bottle. Make sure you hold on to it, until your sure there is enough tension back in the weave to make sure it won't fall off and create a mess.
I am currently a little more than halfway through my weave for the water bottle, and you can see in the pictures that it is shaping up pretty nicely so far, even with some trouble with keeping the paracord from twisting up. I will make sure to post the finished product up on the next post.
For those of you who want some more instructions on how to do this kind of weave, there is a small four part series by The Paracord Weaver on youtube. The first one is below, and I definitely found them useful when I was working on my wrap.

So if you guys have tried out either of these paracord projects, or have projects of your own, post them up in the comments. We'd all love to see them!
~Sara
Wow great uses of Paracord are here.
ReplyDeleteI want to know that howdy you do this.????
Really very creative and amazing creations are over here.